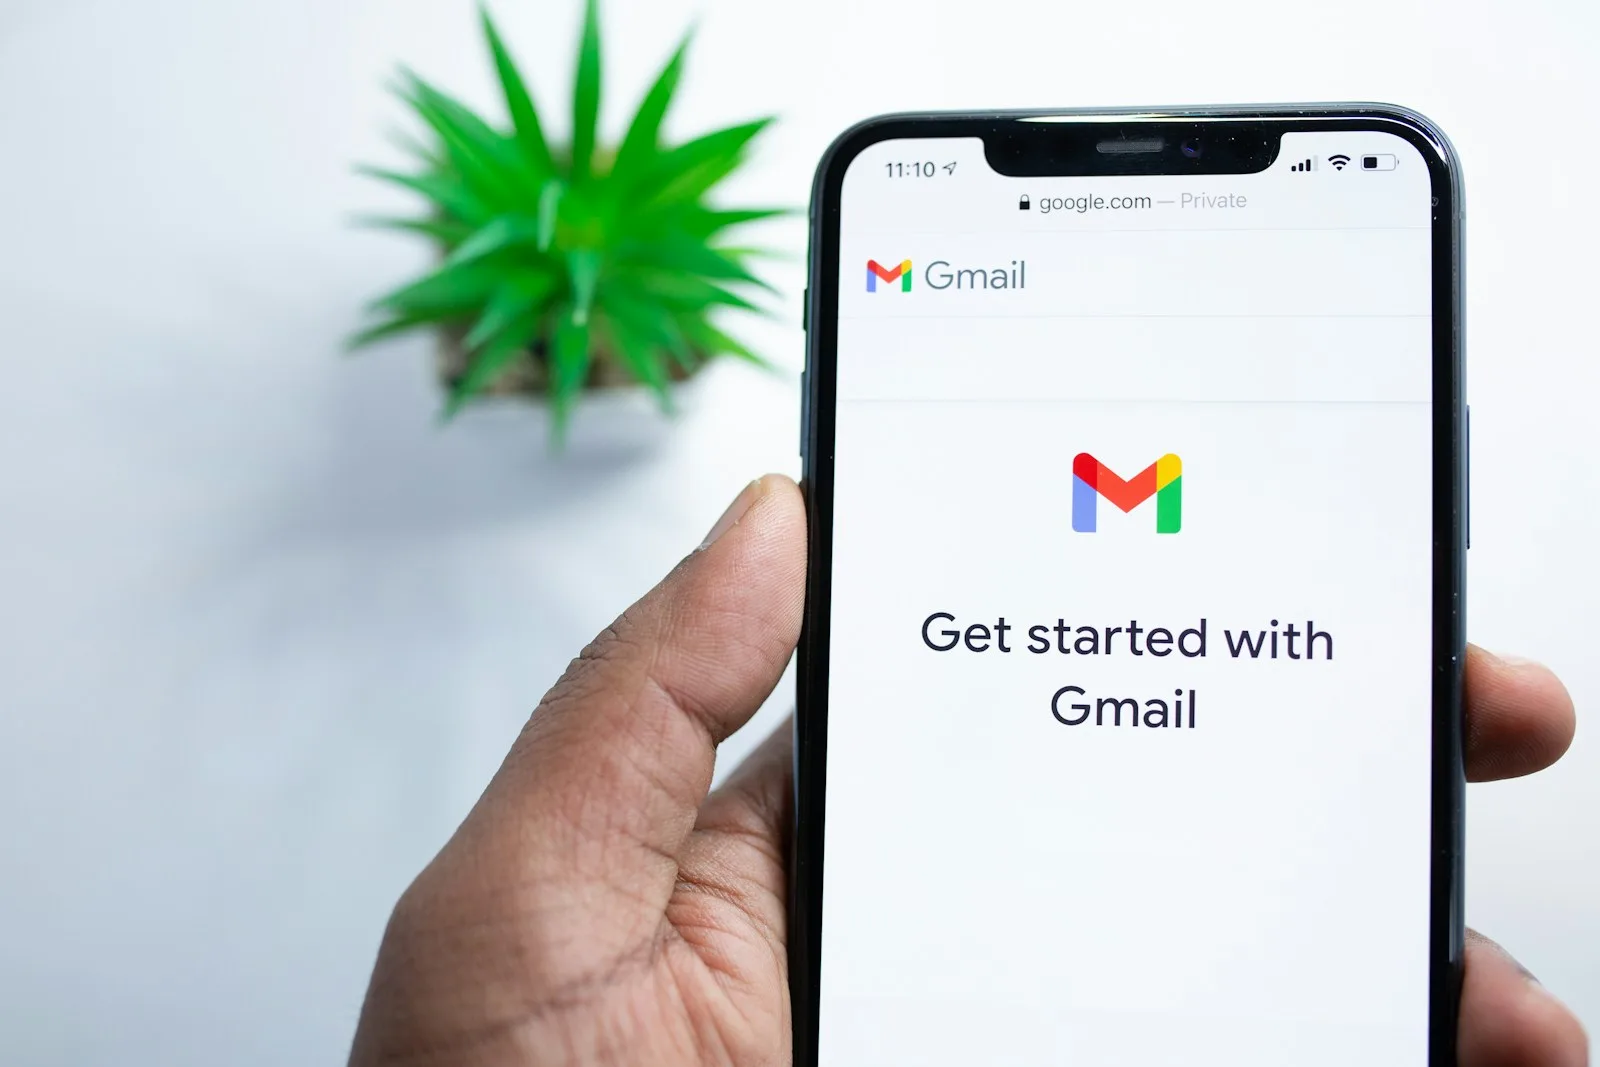
Configuring email on Android devices can vary slightly depending on the make and model of your device and the email app you’re using. However, the general process is similar across most devices. Here’s a step-by-step guide:
- Open Email App: Start by opening the email app on your Android device. Most Android devices come pre-installed with a native email app or the Gmail app, but you can also use third-party email apps available on the Google Play Store.
- Add Account: In the email app, you’ll typically find an option to add a new email account. This option might be labeled as “Add Account,” “Manage Accounts,” or something similar. Tap on it.
- Select Account Type: Choose the type of email account you want to add. This could be Gmail, Outlook, Yahoo, Exchange, or another provider. If your provider isn’t listed, select “Other” or “IMAP/POP.”
- Enter Email Address: Enter your email address and tap “Next.”
- Enter Password: Enter the password for your email account and tap “Next” or “Sign in.”
- Configure Account Settings: Depending on the email provider you selected, you may need to configure additional settings such as server settings, security options, and sync settings. These settings may include incoming server settings (IMAP/POP), outgoing server settings (SMTP), SSL/TLS settings, port numbers, etc. You can usually find this information on your email provider’s website or by contacting their support.
- Sync Options: Choose the sync options for your email account. You can typically select how often you want your emails to sync with the server (e.g., every 15 minutes, every hour, manually, etc.), whether to sync contacts and calendar events associated with the email account, and other preferences.
- Account Name and Description: Enter a name for your account (this is how it will appear in the email app) and a description (optional).
- Finish Setup: Once you’ve entered all the required information and configured your settings, tap “Next” or “Done” to finish setting up your email account.
- Verification: The app will verify your account settings and establish a connection to the email server. Once verified, you should start receiving emails in your inbox.
- Optional: Depending on your email app and device, you may have additional options for customizing your email experience, such as setting up email signatures, organizing folders, managing notifications, etc.
After completing these steps, you’ll be able to access your email account through the email app on your Android device. You can send, receive, and manage emails just like you would on a computer or other devices.
Feel free to ask any specific questions you might have!

Leave a Reply